
Use Zenoti Webhooks
With Zenoti Webhooks, you can add automation tasks for all the event types. Whenever an event is triggered, this automation will send the event details along with the response object details to your application.
To use this feature, you need a subscription to the Zenoti API package. Reach out to your CSM to enable the package.
To get started with Zenoti Webhooks, you must add a new automation task for events that you want to be notified.
- At the organization level, click the Configuration icon.
- Navigate to Integrations > Webhooks.
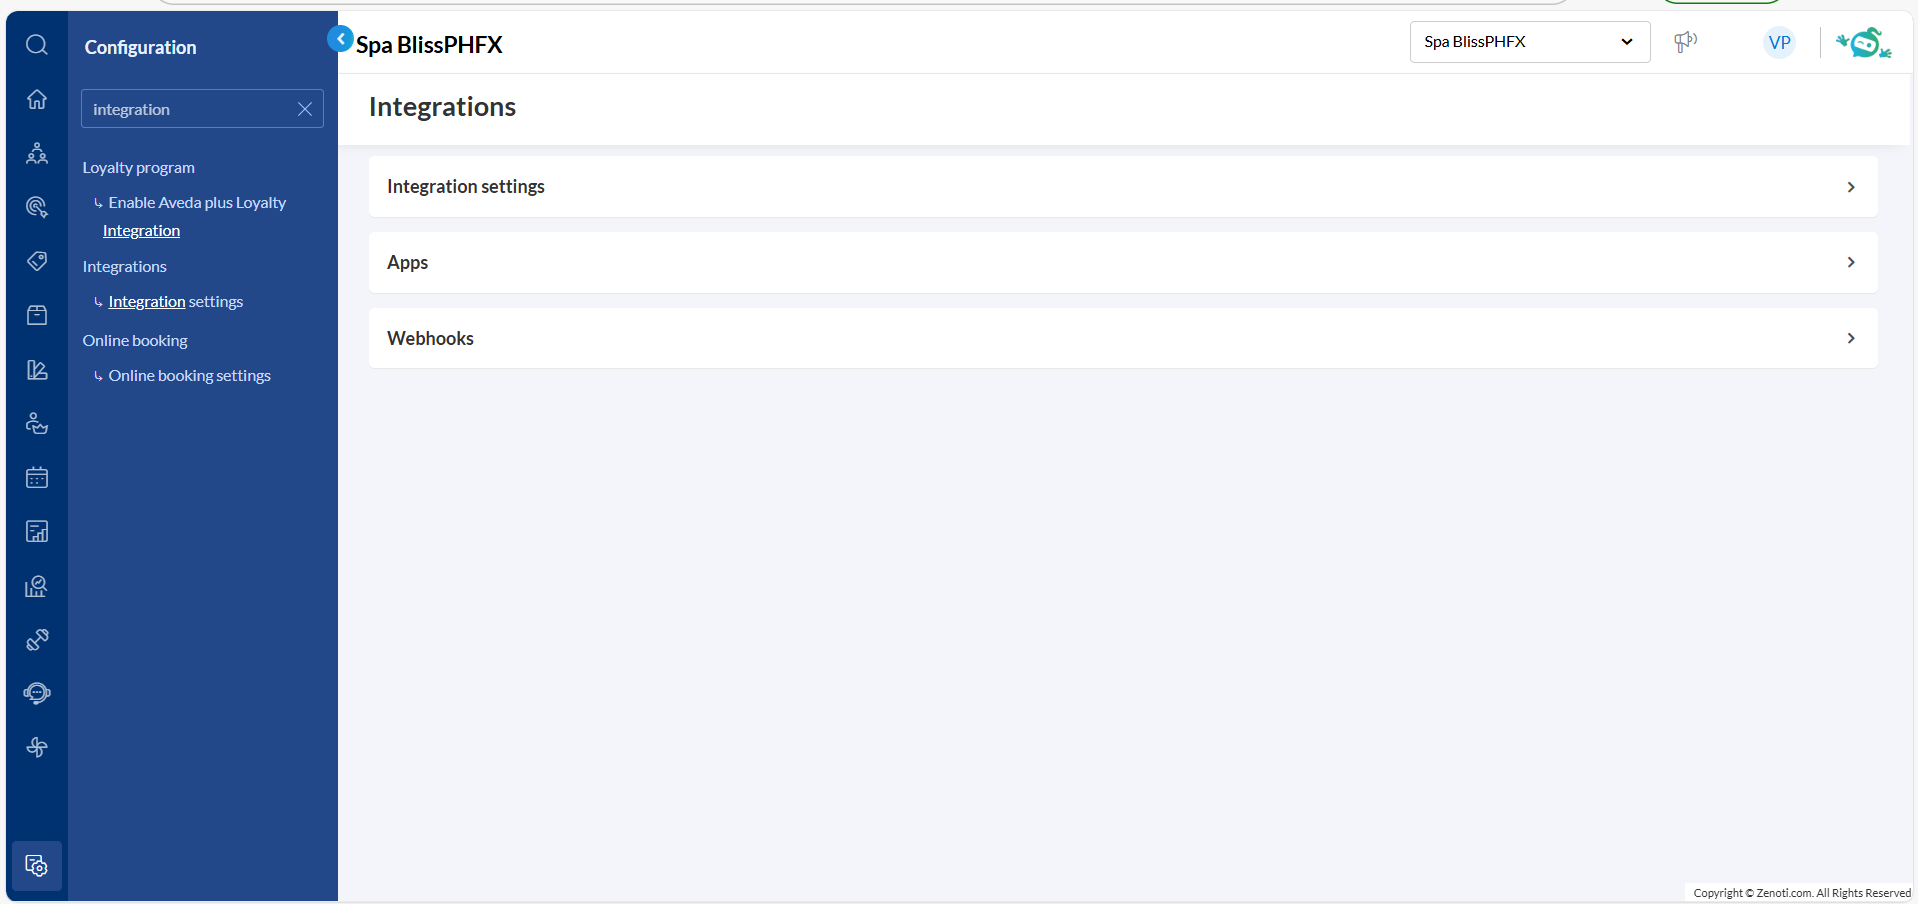
- Click Create a webhook.
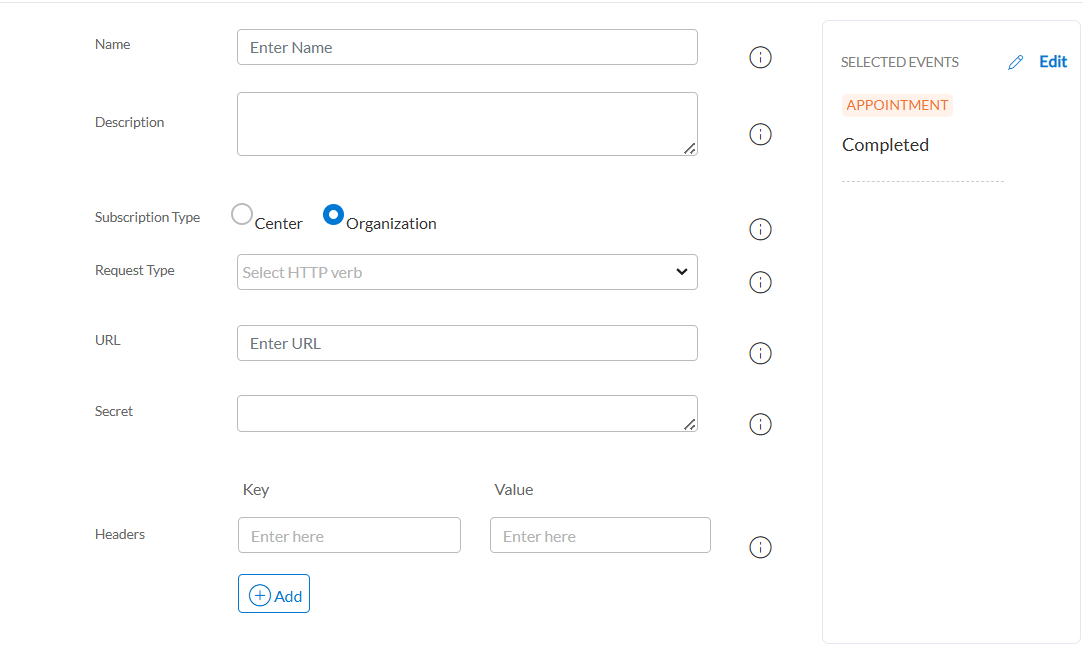
- Enter the following information:
a. Name: Enter a name for the webhook.
b. Description: Enter a short description of the webhook and its purpose.
c. Subscription Type: Select whether the webhook is for the center or for the organization.
d. Request Type: Select the HTTP verb for the webhook.
| Verb | Description |
|---|---|
| POST | Use this verb when you are sending data to create or update the event. The event could be guest creation, membership creation, or updating guest information. POST does not update the entire collection of a resource. It only creates a child resource under the main resource. For example, a new guest is created under the resource "Guests". |
| PUT | Use this verb when you have to update the entire resource. This will update the resource in its entirety. |
| PATCH | Use this verb to update a part of the resource. Unlike POST, this will not create a child resource but update information on the main resource. |
| GET | Use this verb to retrieve data without making changes. Ideal for fetching guests, appointments, or memberships. |
| DELETE | Use this verb to permanently remove a specific resource like a guest or membership. |
e. URL: Add the URL of the webhook.
f. Secret: Enter a secure key used to verify that incoming webhook requests are from a trusted source.
g. Headers: Add custom headers to include additional information in the webhook request.
Key: Enter the name of the header to define the type of information being sent.
Value: Enter the value for the key.
- Click Add.
When a selected event is triggered, Zenoti Webhooks notifies your application of the change and provides a response object.
Updated 11 months ago